Installing the Testkube Agent
Following steps, are under the assumption that you already have a TestKube Pro account, if that's not the case, you can find a detailed description about how to get started with TestKube here.
Installation Steps
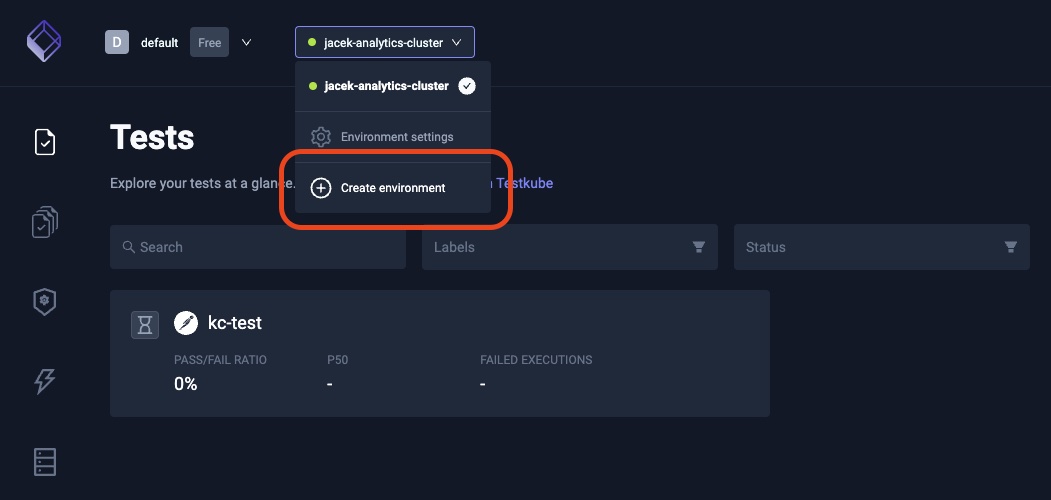
- To add a new agent, create a new environment:
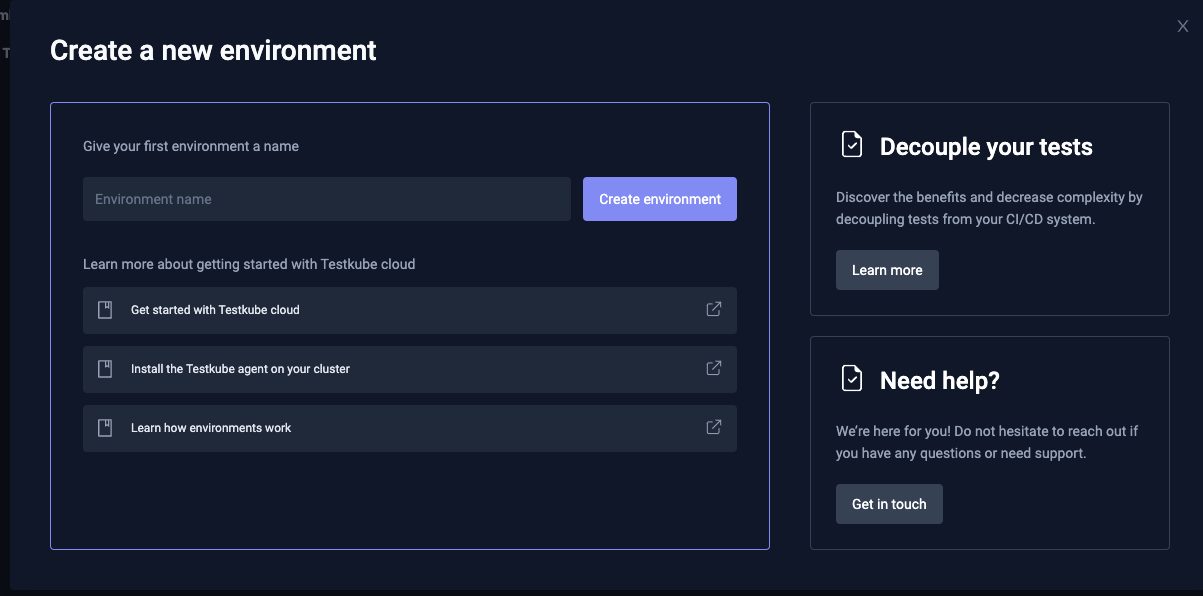
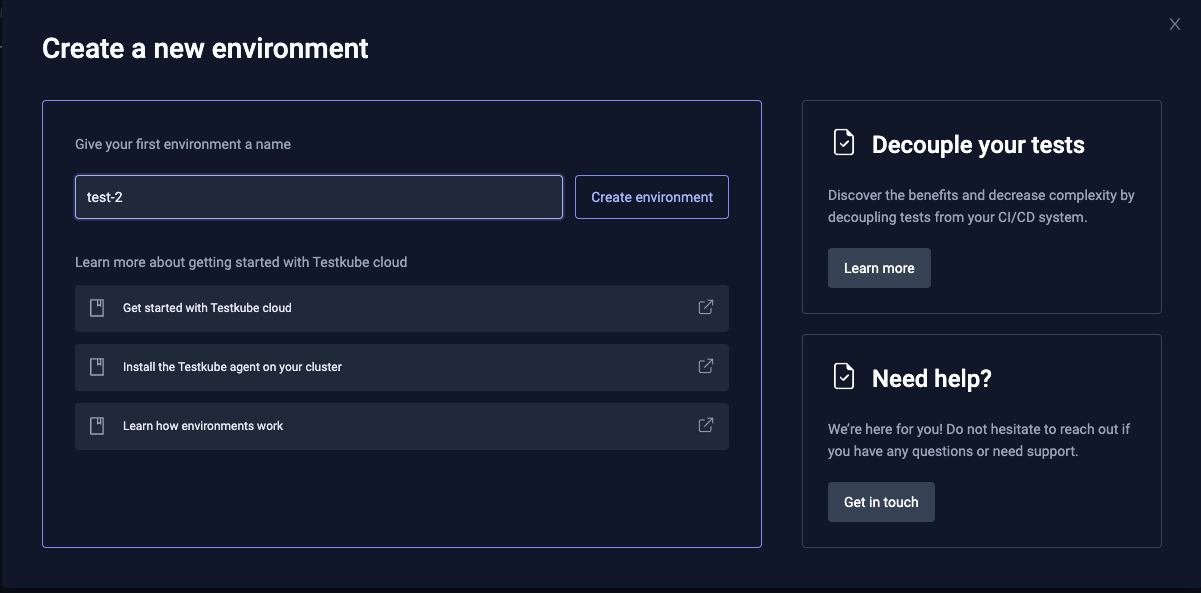
- Fill in the environment name:
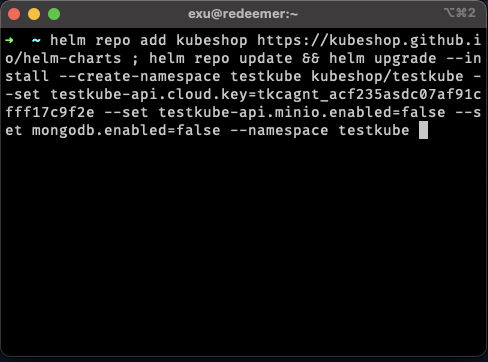
- Copy the Helm install command into your terminal to install the environment and deploy the Testkube agent in your cluster:
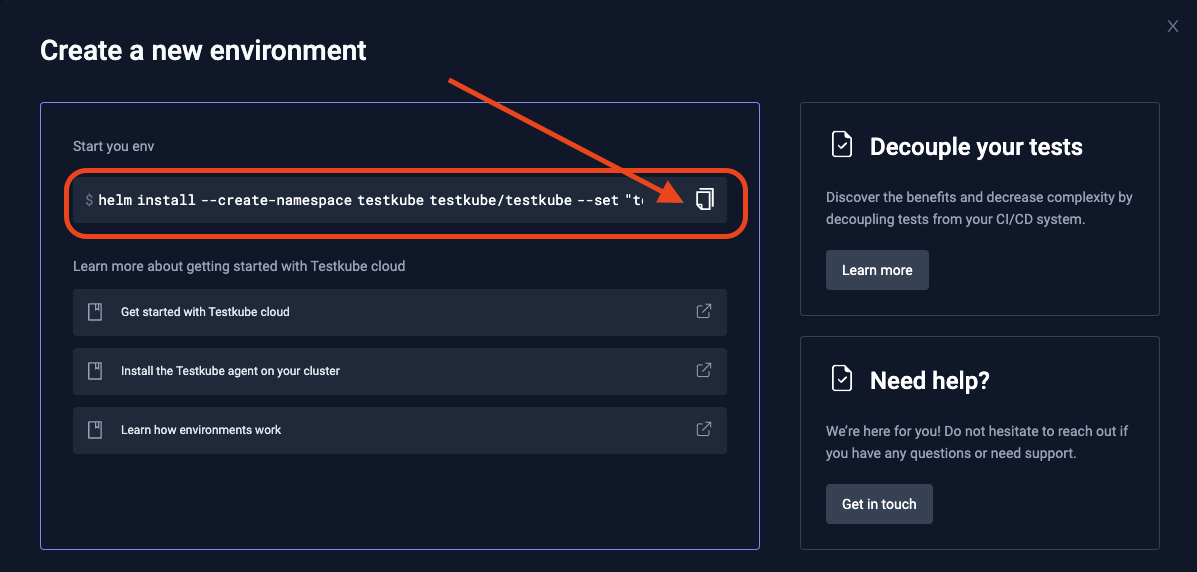
- Run the command in your terminal.
You will need Helm installed and kubectl configured with access to your Kubernetes cluster:
- To install
helmjust follow the install instructions on the Helm web site. - To install
kubectlfollow Kubernetes docs.
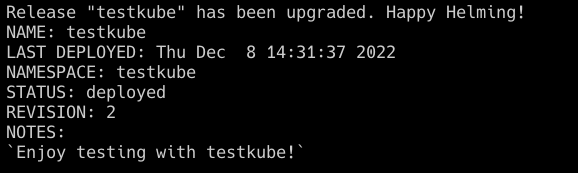
- When the install is complete, you will see the Helm installation notice:
Validating the Installation
Testkube Pro will notify if the installation is successful.
- A green indicator means that your cluster was able to connect to the Testkube Pro.
- A red indicator indicates that the Testkube Agent can't connect to the Testkube Pro API (Testkube needs some time to establish a connection, max time is 2-3 minutes).

In the case of a RED status you can try to debug the issues with the command below:
testkube agent debug
By default, Testkube is installed in the testkube namespace.