Testkube Individual Evaluation
This step-by-step tutorial provides you with a simplified Testkube On Prem installation that deploys both the Testkube Control Plane and Agent within the same namespace, in less than 10 minutes.
This demo installation is for a single/local user only, on a individual workstation. It does not create an Ingress configuration, and is not configured to be used by others. It comes with a preconfigured admin account, Organization and Environment for running your tests.
For evaluations suitable for team usage, please follow the Team Evaluation quickstart guide.
For information on conducting enterprise proof of concepts, please review the Enterprise POC guide.
1. Prerequisites
Before you can get started with the quickstart deployment, you will need the following:
- A running local Kubernetes cluster like Minikube
- Docker CLI authenticated against Docker Hub (or a registry mirroring Docker Hub)
- The Testkube CLI for the quickstarter. For instructions, see the next section.
- The kubectl CLI to run commands against Kubernetes clusters (optional).
A trial license will be required during installation - schedule time with our Solutions Engineering team to get your license and answers to any questions you have.
2. Install the Testkube CLI
You can choose one of the following methods to install the CLI:
- MacOS
- Windows
- Ubuntu
- Script
- Manual Download
Run the following command to install the Testkube CLI with brew on MacOS:
brew install testkube
Run the following commands to install the Testkube CLI with Chocolatey on Windows.
choco source add --name=kubeshop_repo --source=https://chocolatey.kubeshop.io/chocolatey
choco install testkube -y
Run the following commands to install the Testkube CLI on Ubuntu:
wget -qO - https://repo.testkube.io/key.pub | sudo apt-key add -
echo "deb https://repo.testkube.io/linux linux main" | sudo tee -a /etc/apt/sources.list
sudo apt-get update
sudo apt-get install -y testkube
Run the following command to install the Testkube CLI with curl:
curl -sSLf https://get.testkube.io | sh
- Download the binary for the version and platform of your choice here.
- Unpack it. For example, in Linux use
tar -zxvf testkube_1.5.1_Linux_x86_64.tar.gz. - Move it to a location in the PATH. For example:
mv testkube_1.5.1_Linux_x86_64/kubectl-testkube /usr/local/bin/kubectl-testkube
For Windows, you will need to unpack the binary and add it to the %PATH% as well.
3. Run the Testkube Installer
The installer will complete these steps:
- Check if you have chosen the right Kubernetes environment.
- Ask for some information, such as the trial license requested as noted above.
- Install Testkubes Control Plane and Agent, both within the same namespace.
The whole process takes 3-5 minutes and can be started with the following command:
testkube init demo
Once installed, you will be asked if you want to testkube dashboard to conveniently access all relevant services on your localhost.
You can always execute this yourself afterward should you close this terminal after installation. The admin in this demo has
the following e-mail and password: admin@example.com/password.
In case of issues with the license, please try testkube diag license command for license validation.
4. Create and Run a Testkube Workflow
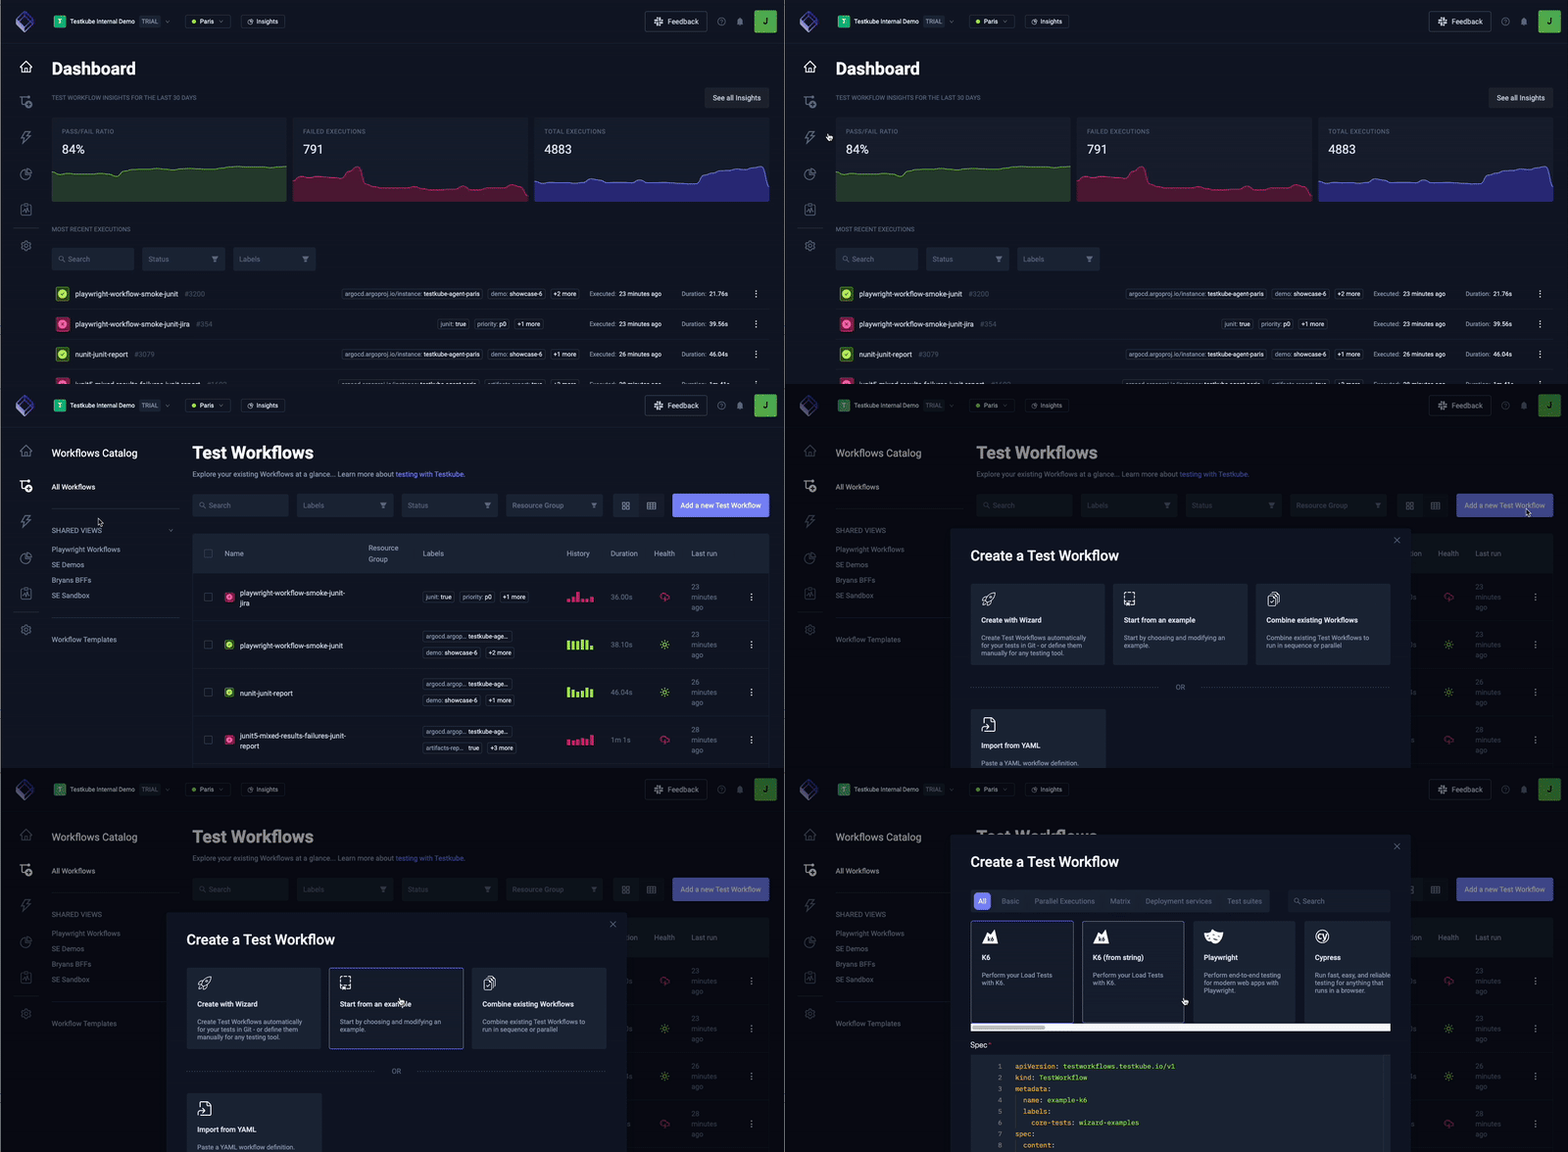
Navigate to the Test Workflows catalogue, and click "Add a new Test Workflow" to select a pre-built workflow from our library of examples. Click "save and run" to start the Test Workflow

5. See the Results
Once the Execution of the Test Workflow completes, click into the execution