AI Assistant
The Testkube AI Assistant gives you quick access to Testkube AI Agents from anywhere in the Dashboard, without navigating to the AI Chats panel.
Check out the AI Configuration on how to enable the AI Assistant for your Testkube instance.
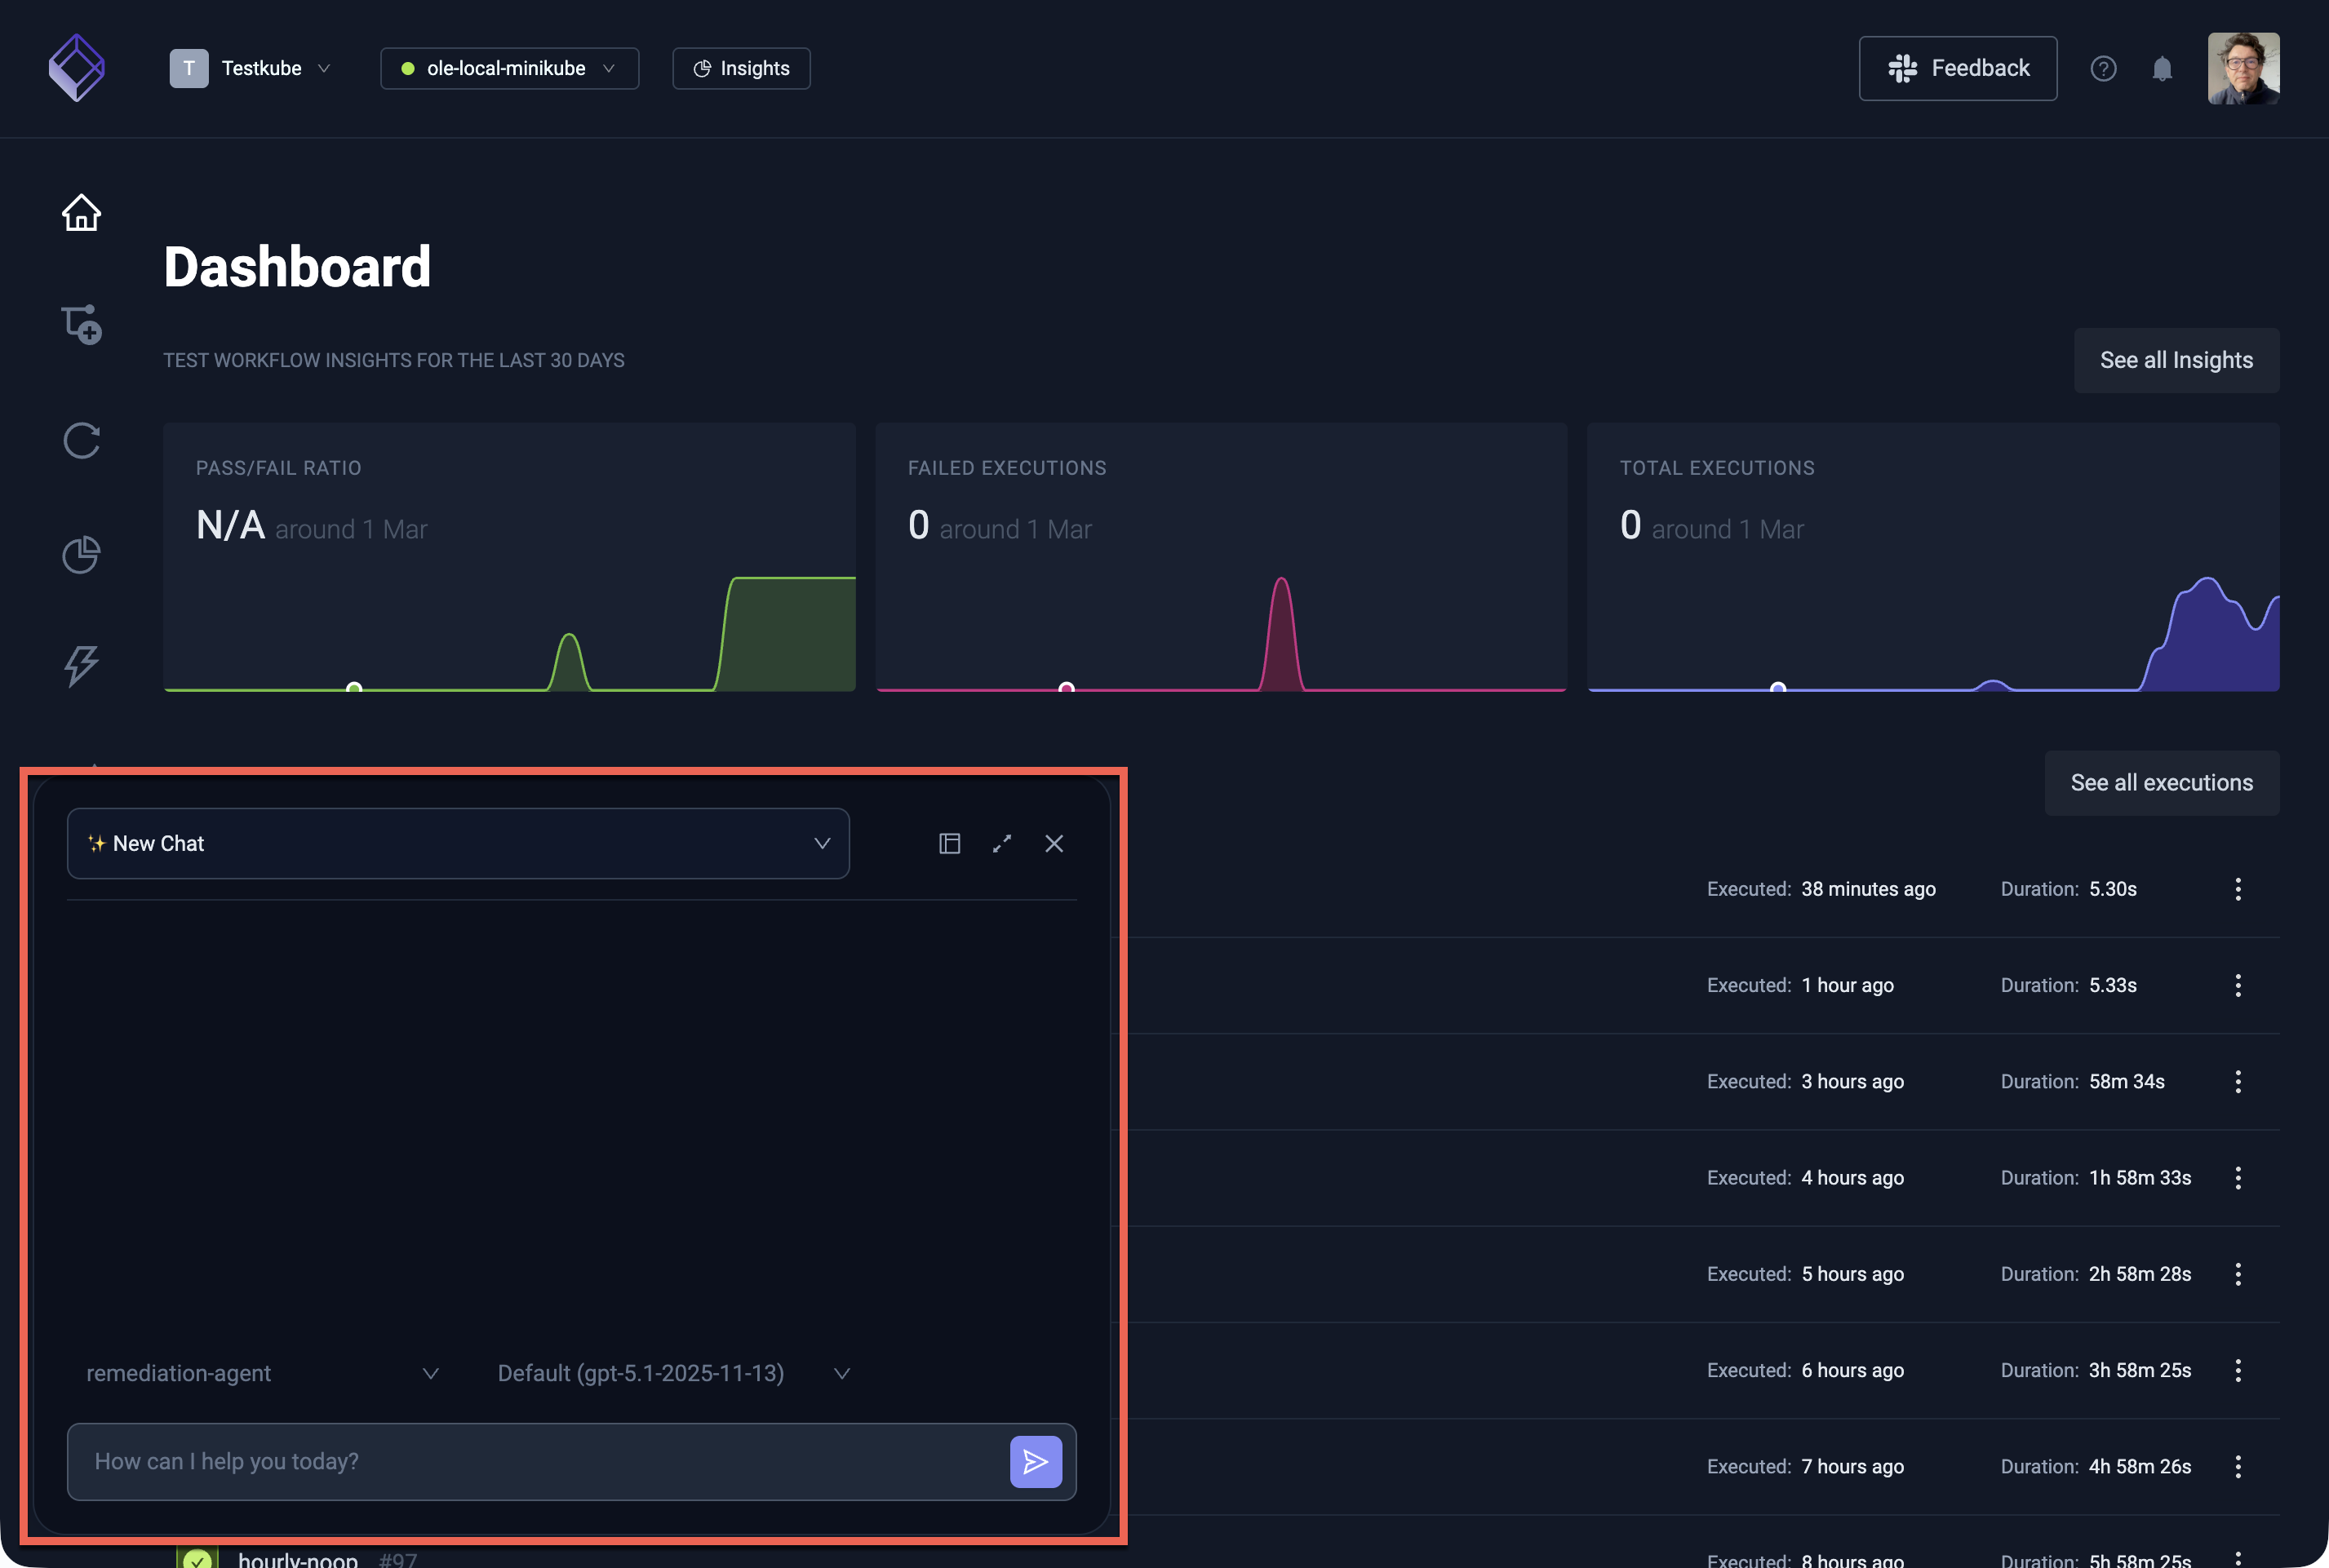
Once enabled, open the AI Assistant by selecting the "AI Assistant" button in the bottom left of the Testkube Dashboard.
The AI Assistant can be used in two modes - see below. In either mode you can start a fresh conversation by selecting the New Chat button. This creates a new session with the currently selected agent and model.
For a full-featured chat management experience — including filtering by agent, viewing tool approval requests, and accessing triggered chats — use the dedicated AI Chats panel from the left-side Dashboard menu.
Overlay Mode (Default)
The AI Assistant opens as an overlay panel on top of the current Dashboard view. This is useful for quick questions or short interactions while keeping your current context visible in the background.
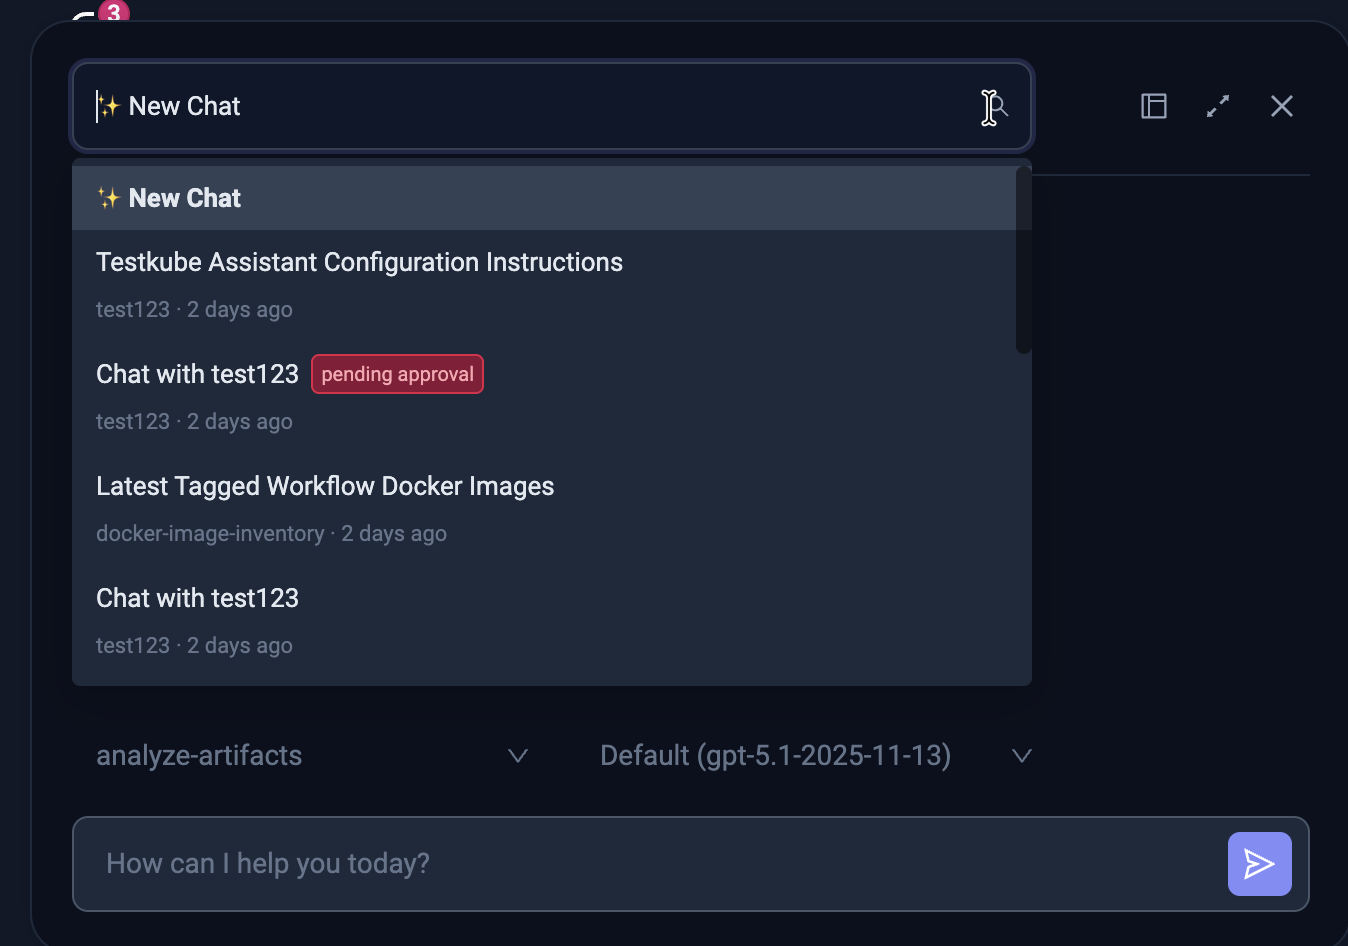
Navigating between Chats in Overlay Mode
The AI Assistant keeps a history of your conversations. Use the chat list icon at the top of the panel to see previous chats and switch between them. Each chat retains its full conversation history, so you can pick up where you left off.
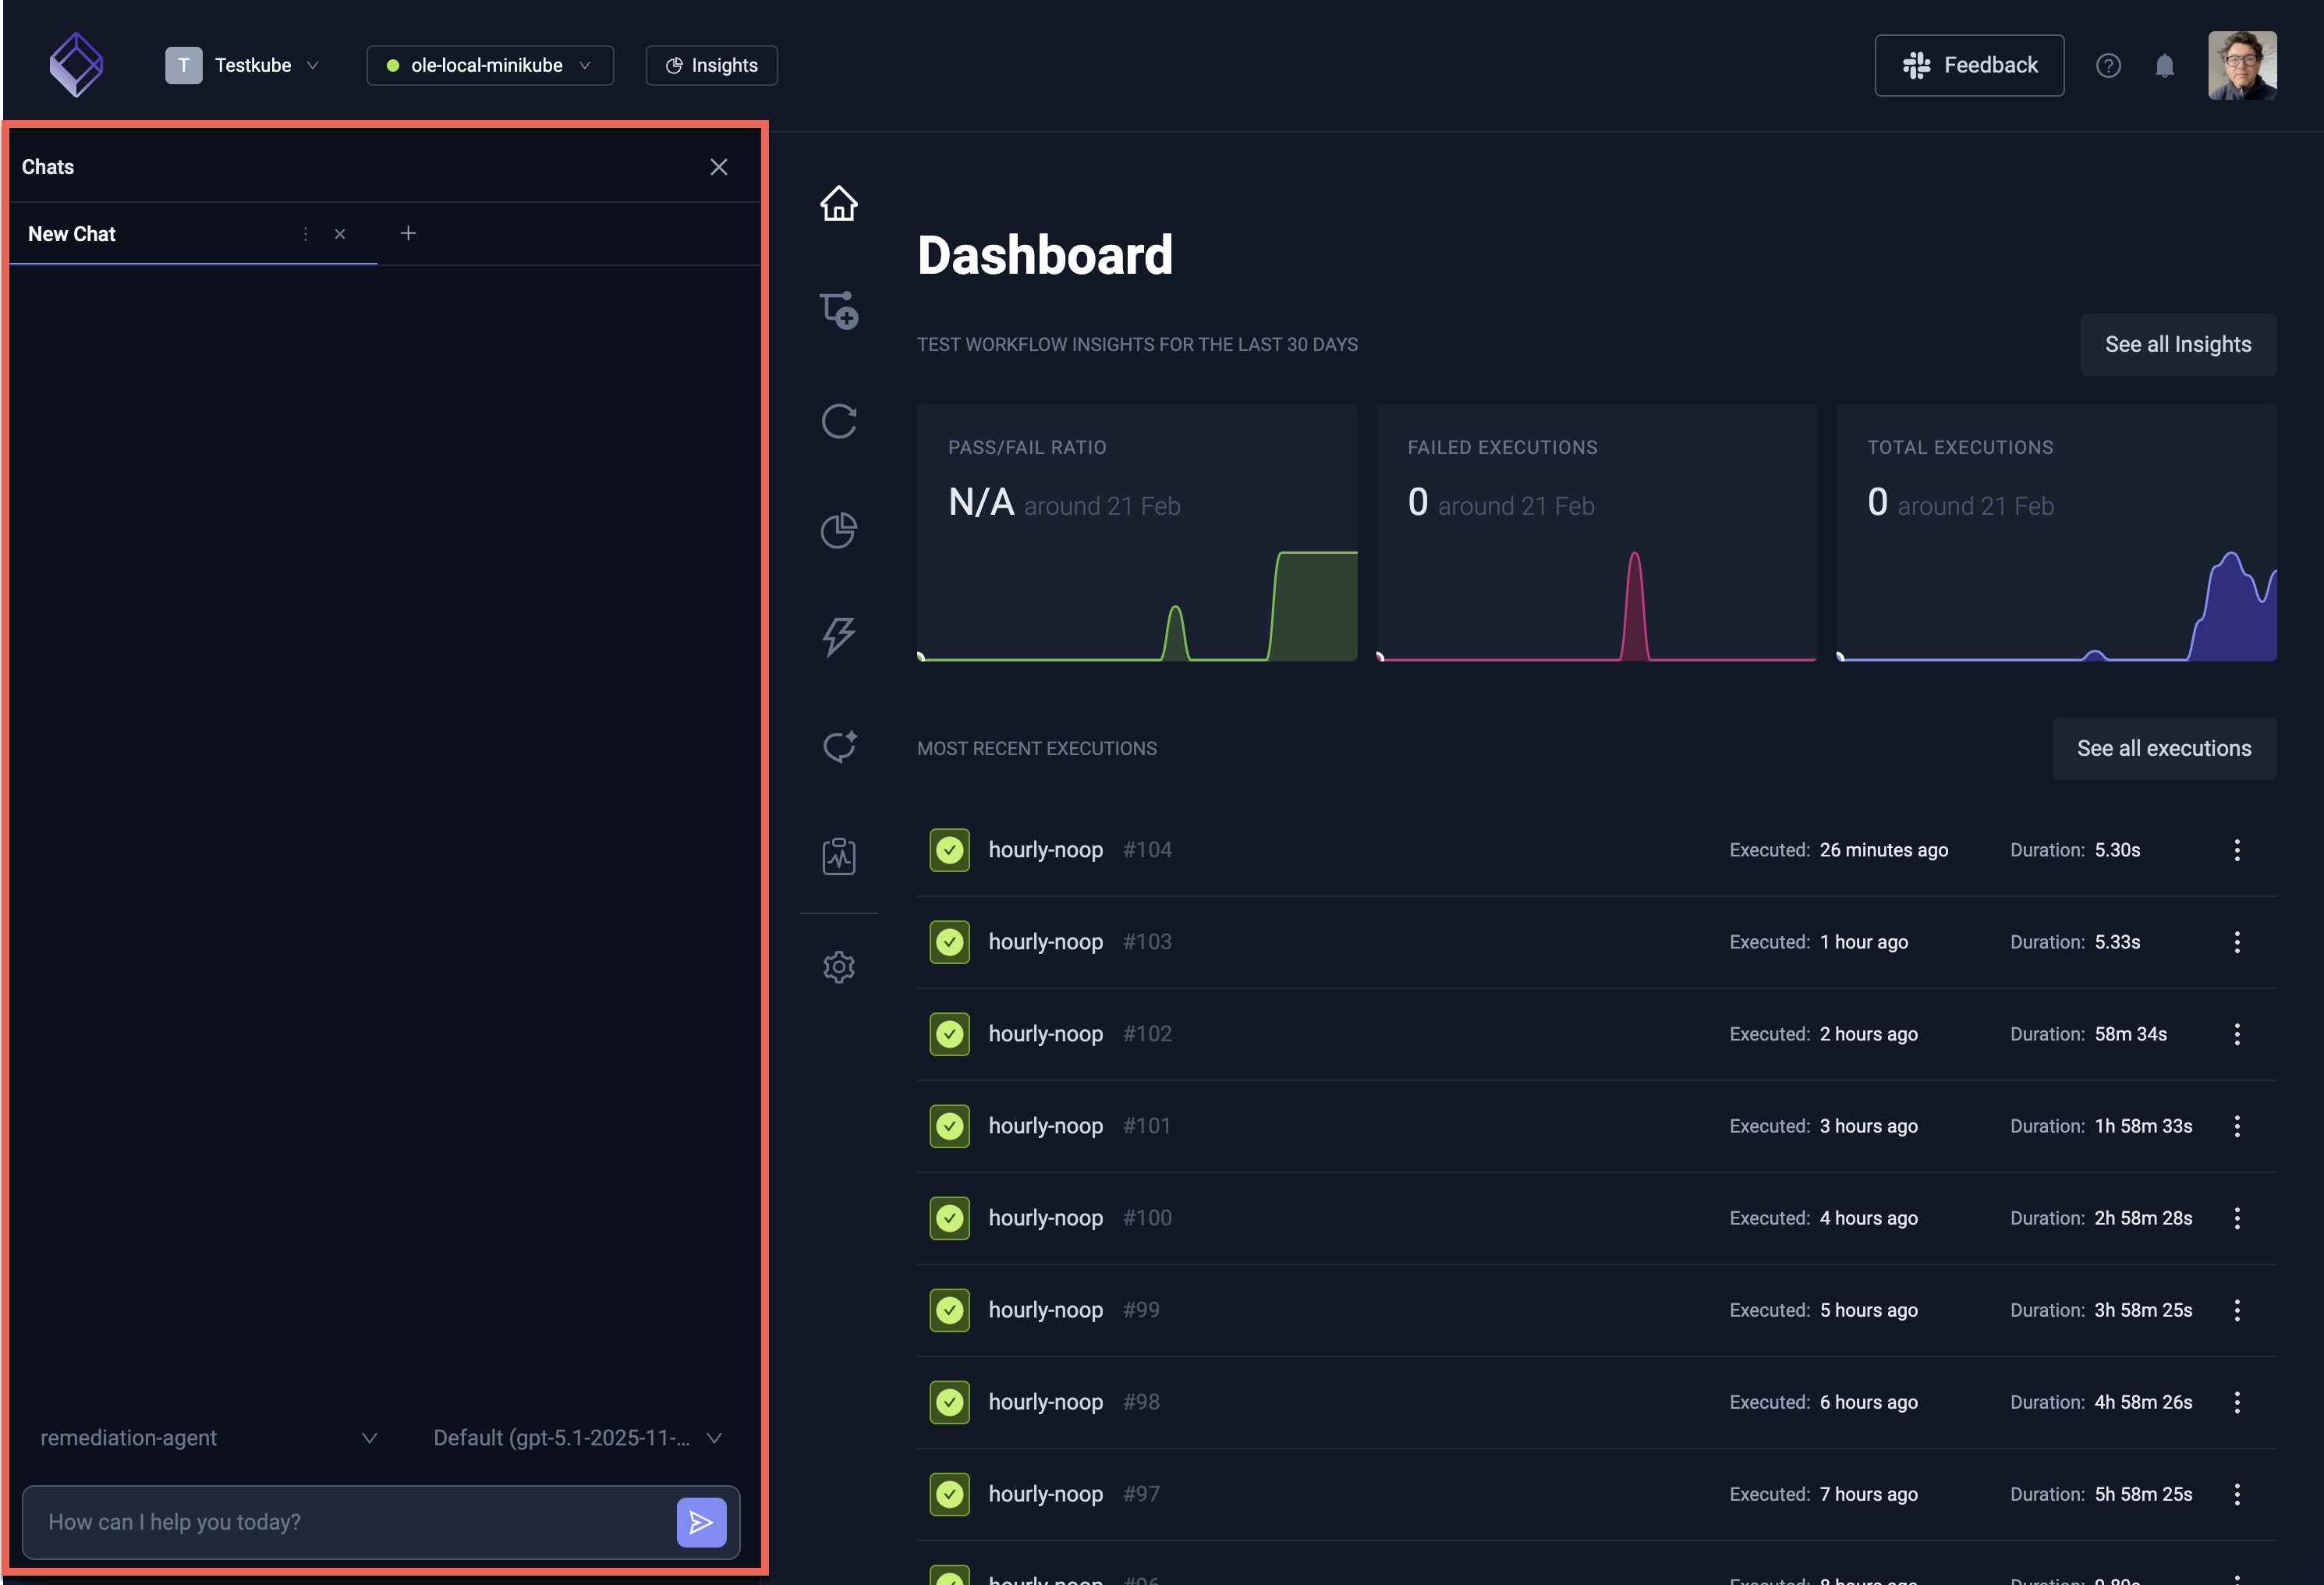
Docked Mode
For longer interactions where you want to work side-by-side with the AI Assistant, switch to docked mode by selecting the dock icon (third icon from the top right in the AI Assistant panel). This pins the assistant to the right side of the Dashboard, giving you a split-screen view where you can browse workflows, executions, and other resources alongside the conversation.
Switch back to Overlay mode or navigate to the Chats Panel by selecting the 3-dot menu of the Chat tab title.
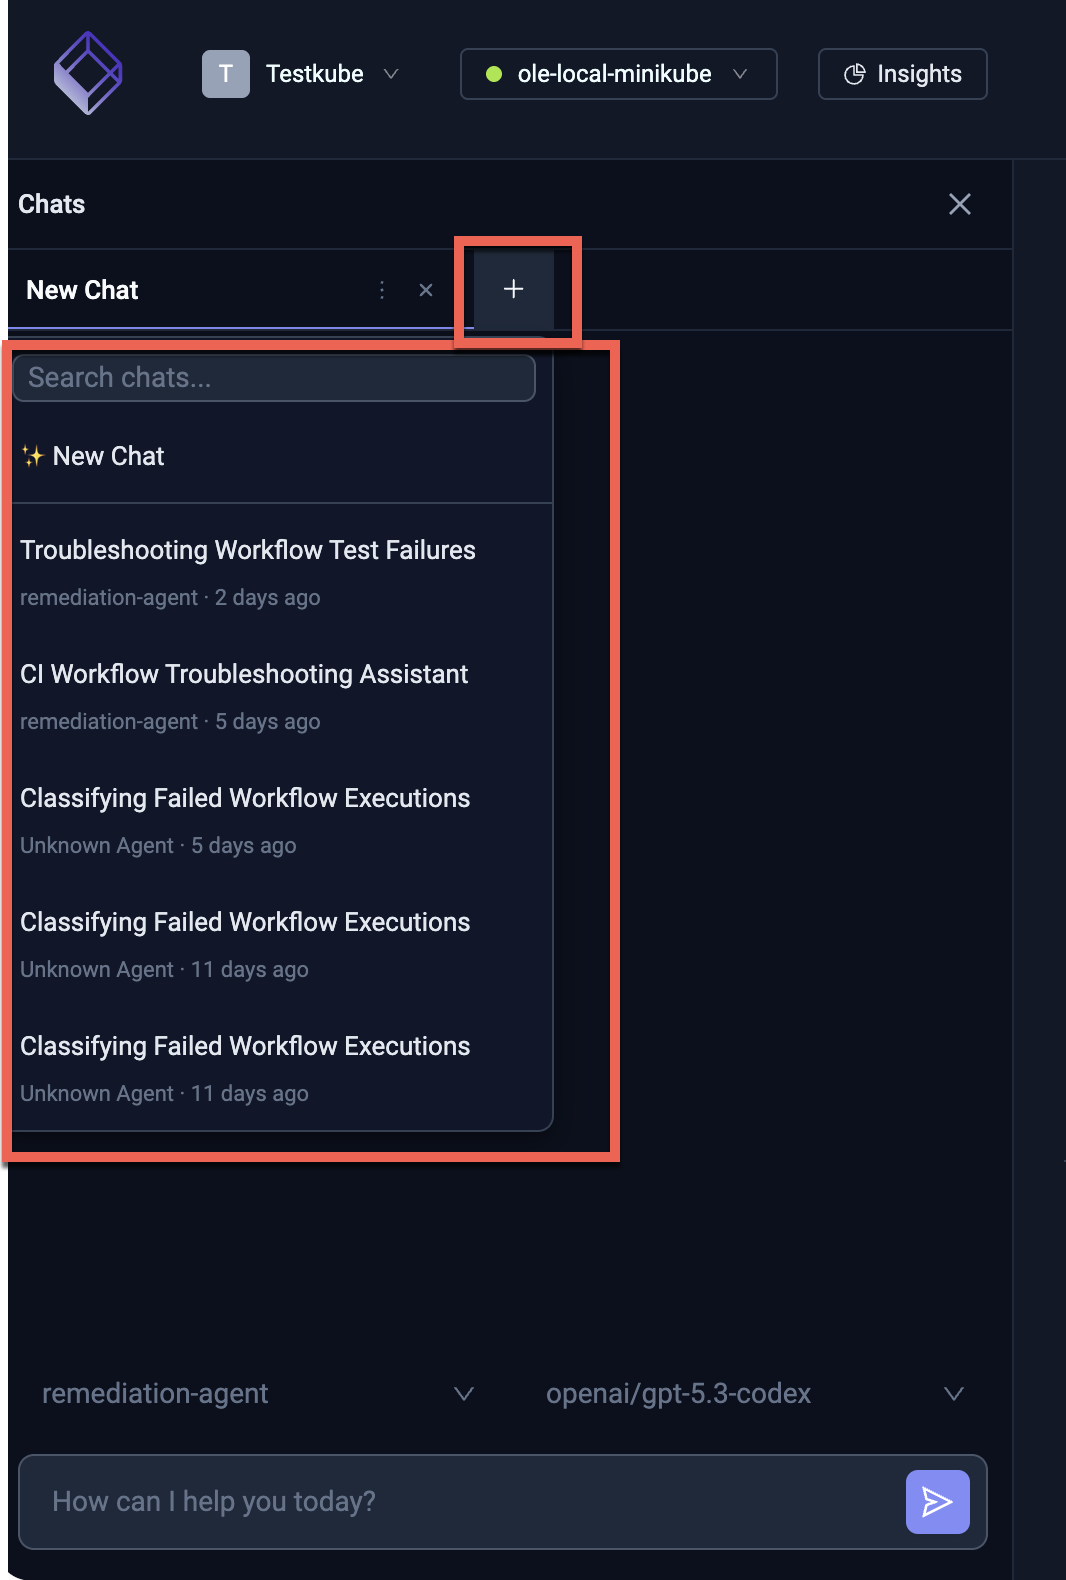
Navigating between Chats in Docked Mode
When adding a new Chat in Docked mode you get the same selection of previous Chats as shown above for Overlay Mode:
Selecting an AI Agent and Model
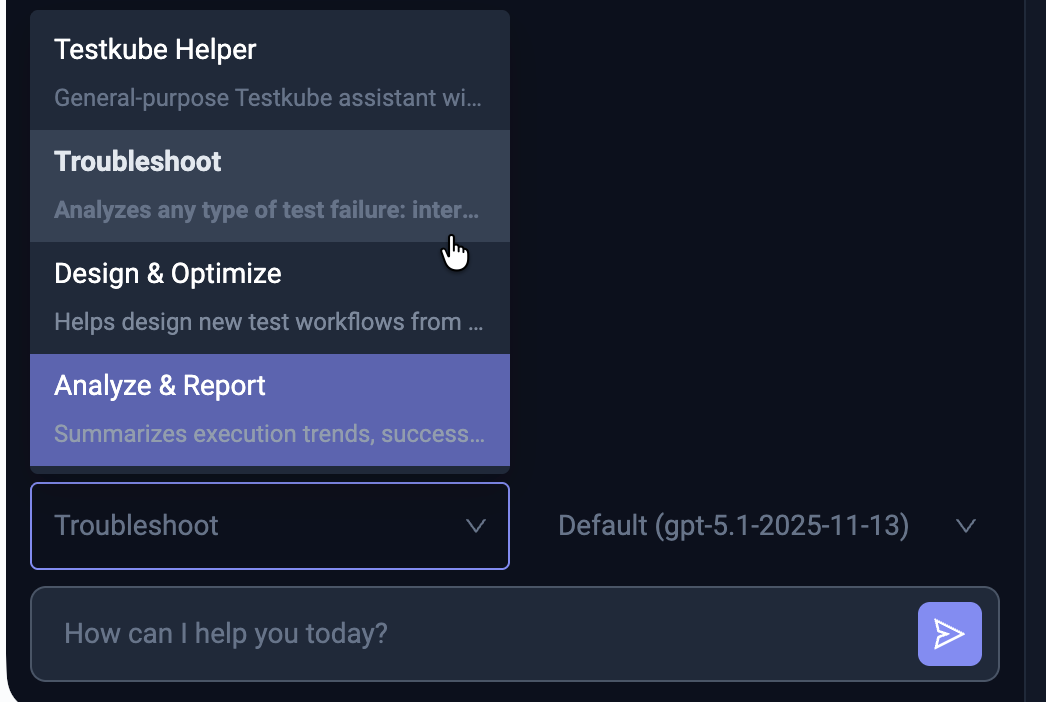
Use the dropdowns at the top of the AI Assistant panel to choose which AI Agent and LLM model to use for the conversation:
- AI Agent — Select any of the default agents (Testkube Helper, Troubleshoot, Design & Optimize, Analyze & Report) or any custom agent you have created.
- Model — Choose from the available LLM models (platform models and any custom models you have configured).
Changing the agent or model takes effect for new messages in the current conversation.
Default AI Agents
Every Testkube environment comes with a set of pre-configured AI Agents ready to use:
| Agent | Purpose |
|---|---|
| Testkube Helper | General-purpose assistant with access to all Testkube MCP tools. Ask it anything about your workflows, executions, or environment. |
| Troubleshoot | Specialized in analyzing failed executions — examines logs, artifacts, and execution history to identify root causes and suggest fixes. |
| Design & Optimize | Helps create new Test Workflows and optimize existing ones — generates workflow definitions, suggests improvements, and applies changes (with approval). |
| Analyze & Report | Summarizes execution trends, workflow health, and metrics across your environment into actionable reports. |
These agents are automatically provisioned and cannot be deleted. You can create additional agents tailored to your specific needs — see Defining AI Agents and Example Agents for inspiration.
Read More
- AI Agent Chats — Full chat management, filtering, tool approvals, and all the ways to start a chat
- Defining AI Agents — Create custom agents with tailored prompts and MCP tool access
- AI Agent Triggers — Automate agent execution based on workflow events or schedules
- Configuring AI Models — Add custom models
- Example Agents — Ready-to-use agent configurations for QA and DevOps