Finding Your Git Provider Token
Always grant the minimum permission the workflow needs — for cloning test code that is read-only access to repository contents. Set an expiration and rotate tokens periodically.
GitHub
GitHub offers fine-grained personal access tokens and classic tokens.
Create a fine-grained token:
- In the upper-right corner of any GitHub page, click your profile picture, then Settings.
- In the left sidebar, click Developer settings.
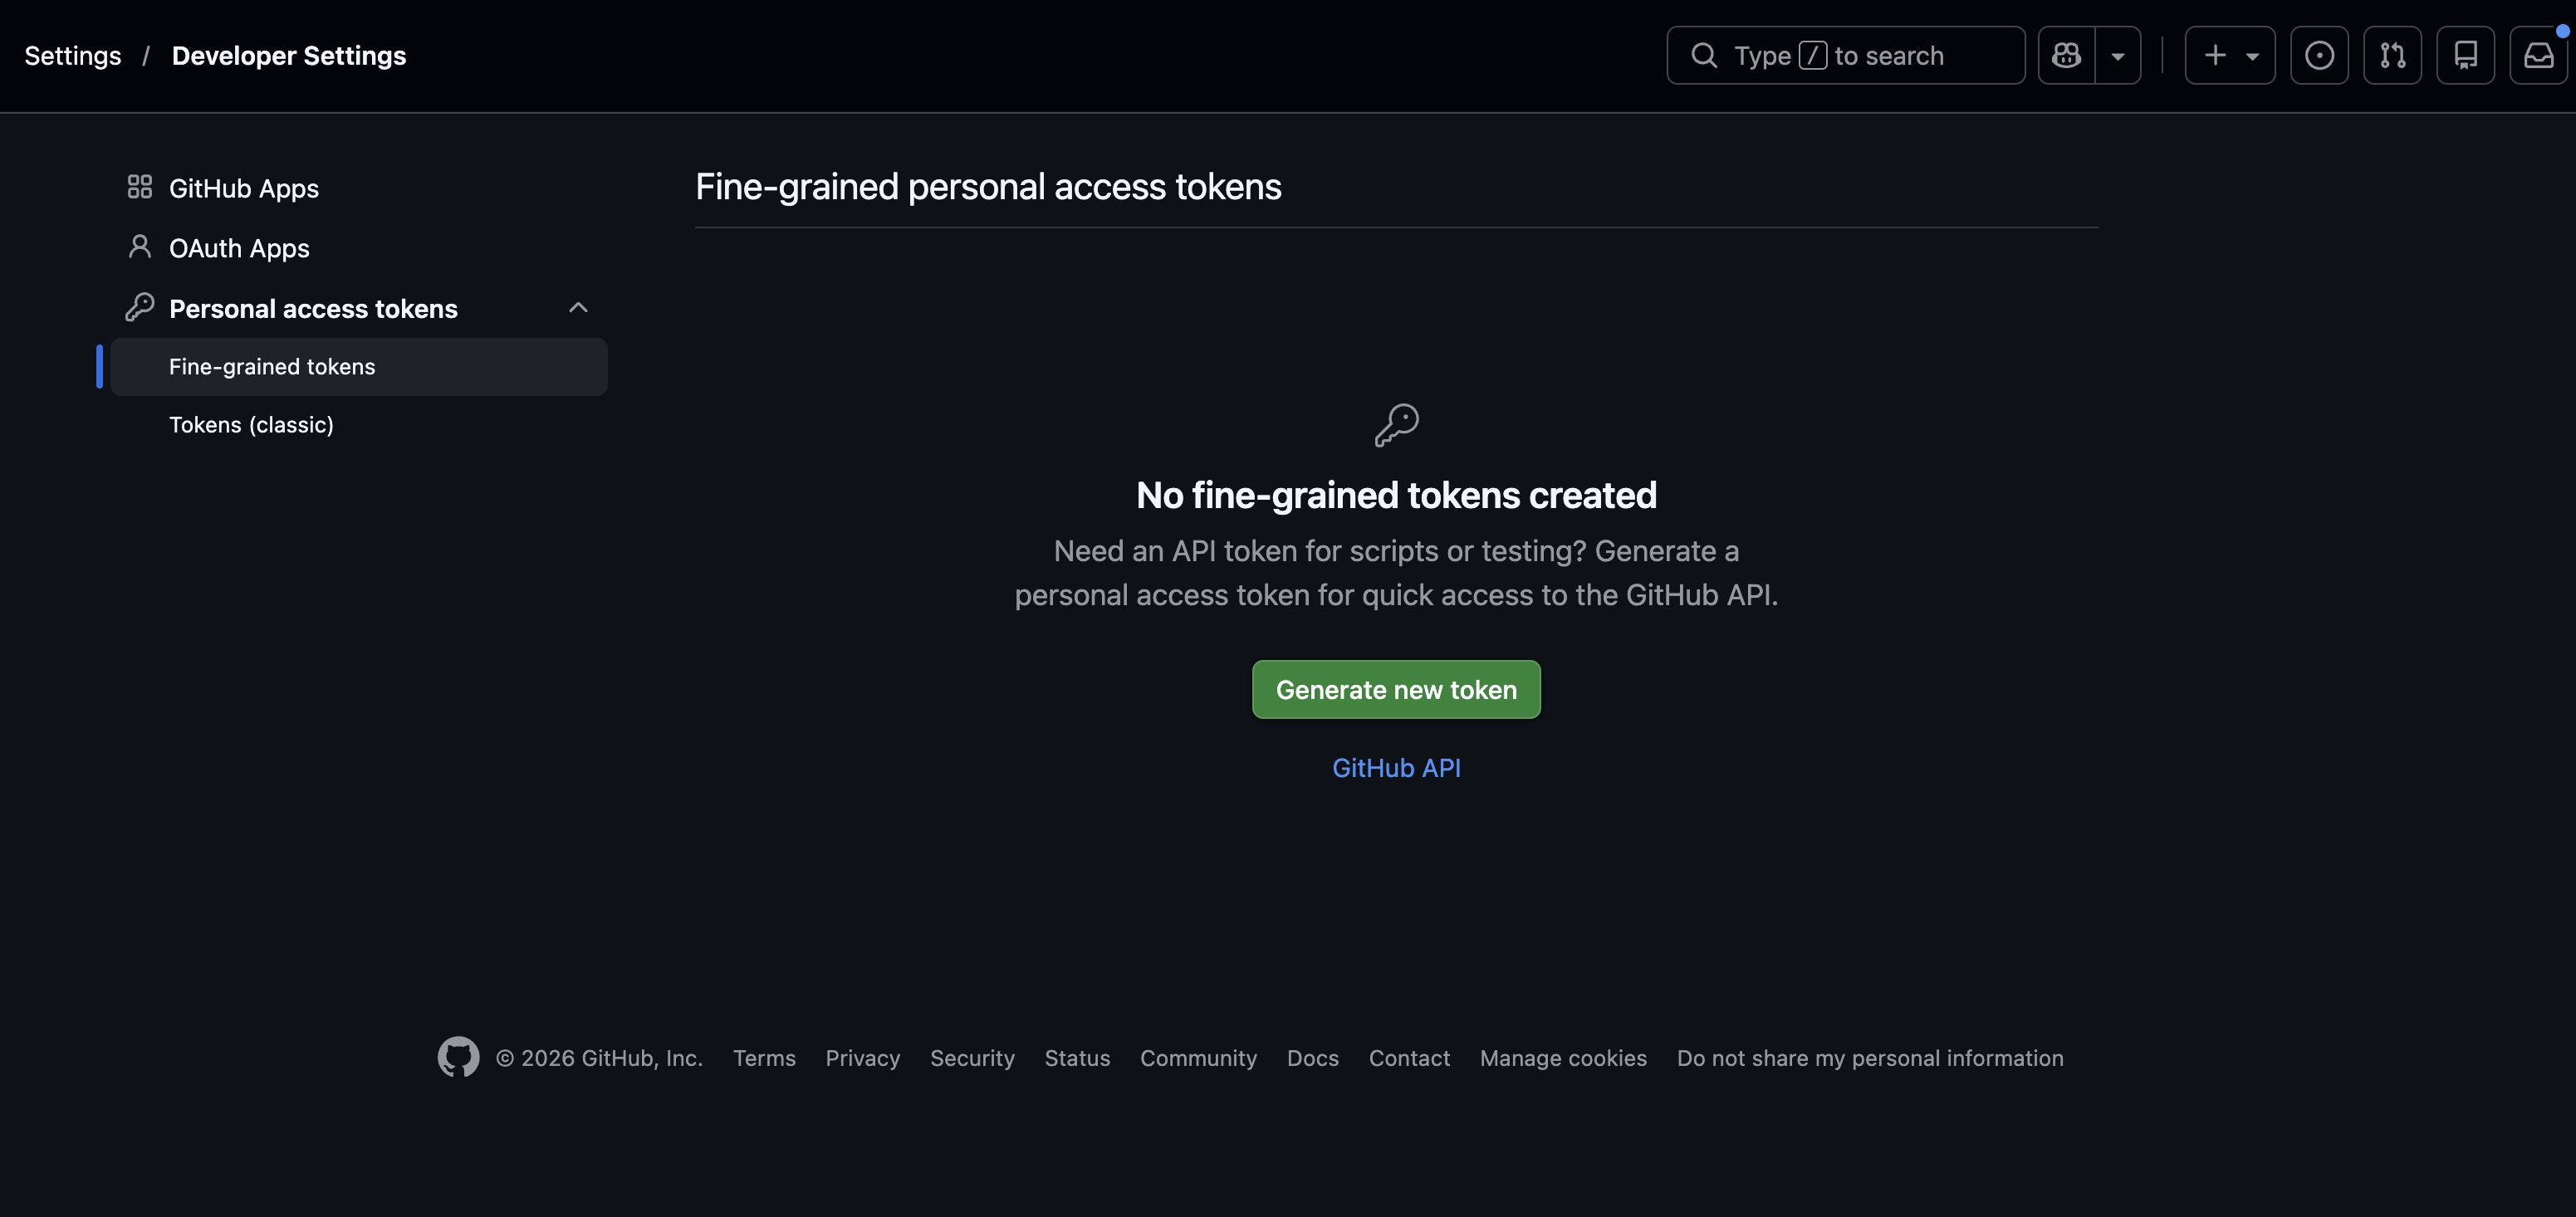
- Under Personal access tokens, click Fine-grained tokens, then Generate new token. Direct link: github.com/settings/personal-access-tokens
- Set a name and expiration, then under Repository access select the repositories the workflow clones.
- Under Permissions → Repository permissions, set Contents to Read-only.
- Click Generate token and copy the value — you won't be able to see it again.
GitLab
- In the upper-right corner, select your avatar, then Edit profile (this opens User Settings).
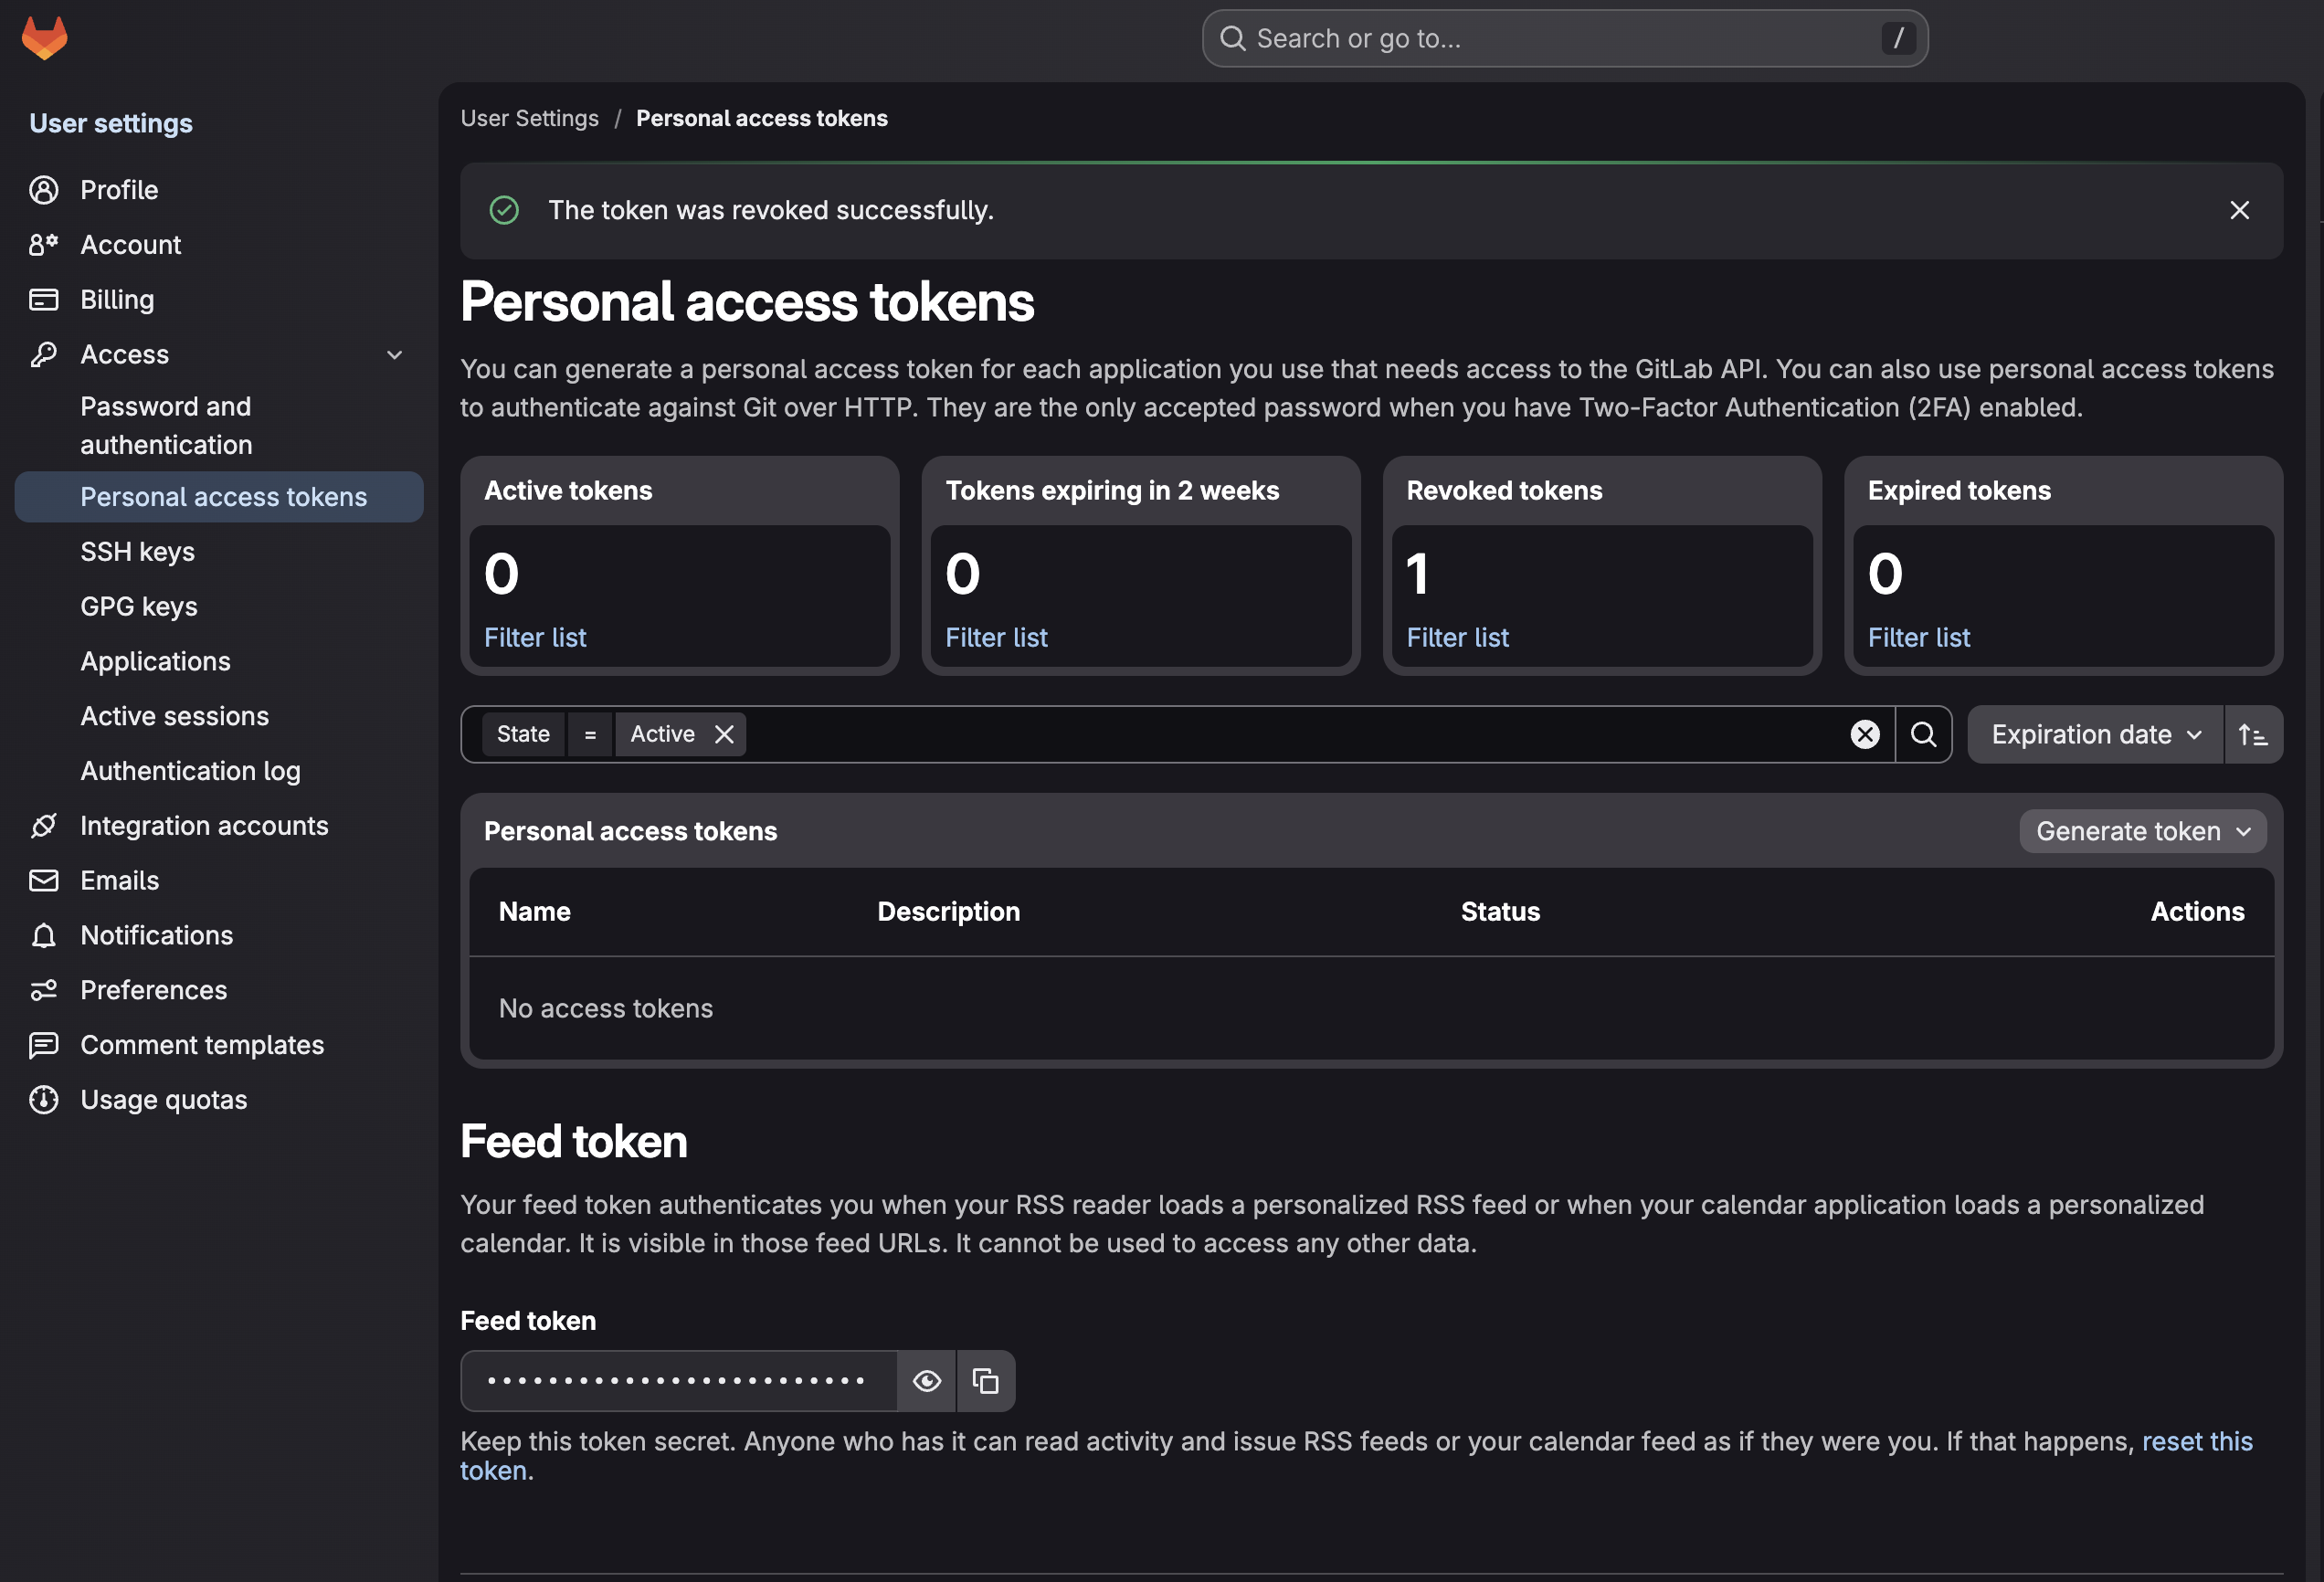
- In the left sidebar, under Access, select Personal access tokens.
Direct link: gitlab.com/-/user_settings/personal_access_tokens
(on self-managed GitLab, replace
gitlab.comwith your instance host). - Select Generate token, then choose the token type:
- Legacy token (simplest for read-only) — under Scopes select
read_repository. This grants read-only clone/pull access and nothing else. - Fine-grained token (Beta, GitLab 18.10+) — there is no single "read-only" switch.
Under the Repository resource, enable only Code with the Read action; leave the
other Repository permissions (Merge Request, Protected Branch, etc.) unchecked. The Code
permission is what allows
git clone/read.
- Legacy token (simplest for read-only) — under Scopes select
- Give the token a name and an expiration date.
- Select Create personal access token and copy the value.
Bitbucket
Create an API token:
-
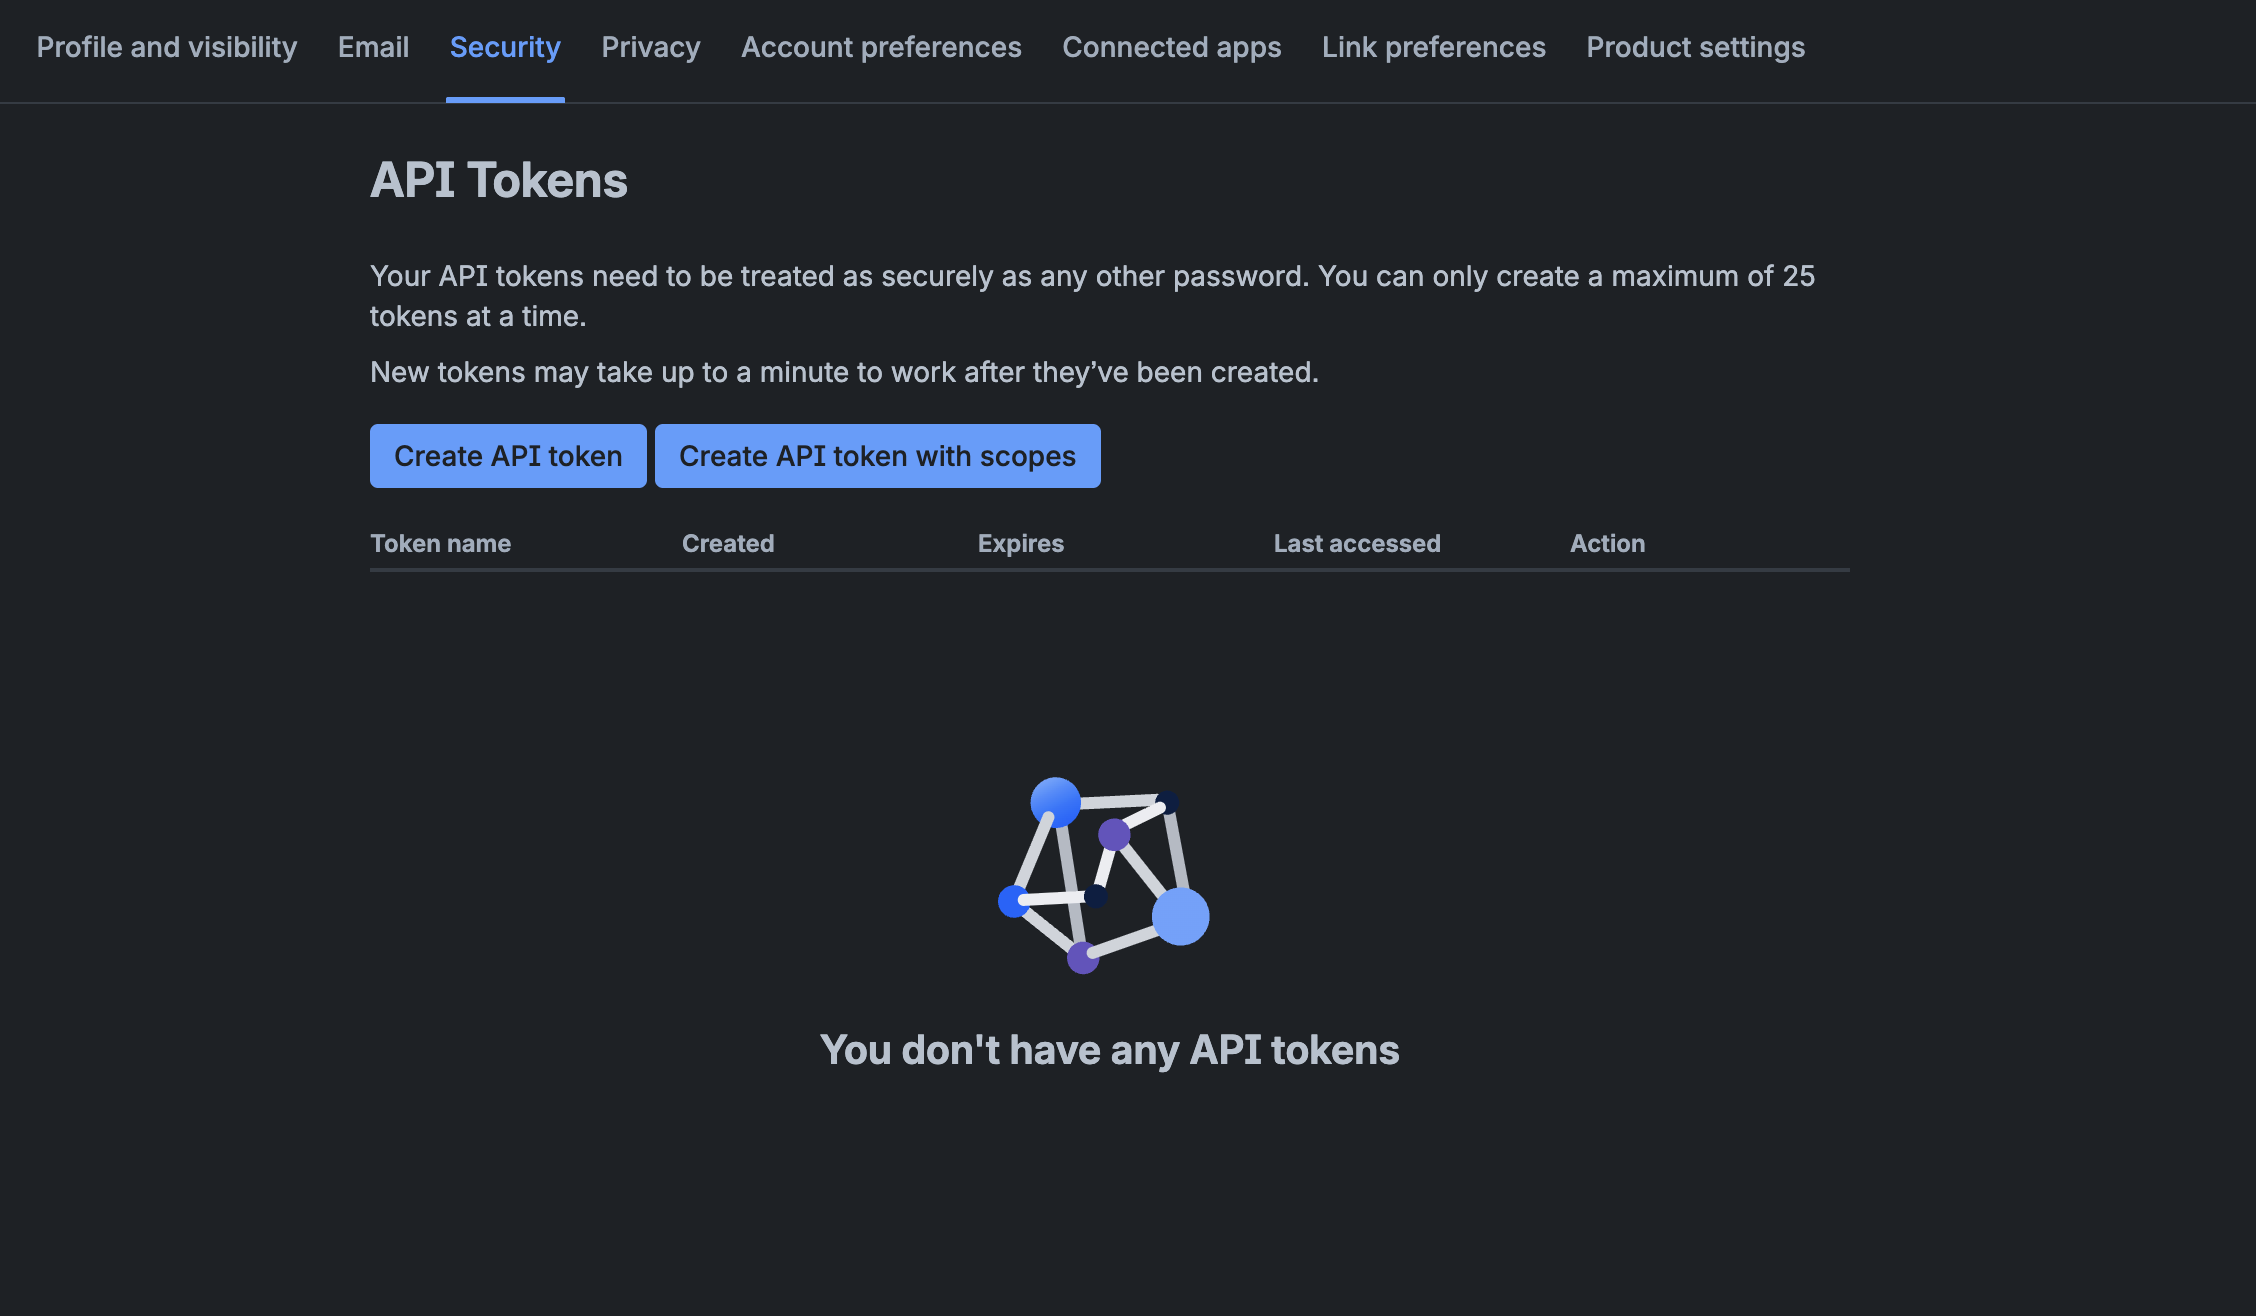
Select your profile icon (top right) → Profile, then open the Security tab on your Atlassian Account page.
-
Under the API token section, select Create and manage API tokens. Direct link: id.atlassian.com/manage-profile/security/api-tokens
noteThe "API token" section describes Jira/Confluence basic auth, but the linked page is also where Bitbucket tokens live — you want Create API token with scopes (not the plain "Create API token").
-
Select Create API token with scopes, give it a name and an expiry date.
-
Select Bitbucket as the app, then assign the
read:repository:bitbucketscope. -
Create the token and copy the value.
If you connect Testkube to GitHub across a whole organization, the Centralized GitHub App avoids per-repository tokens entirely.